


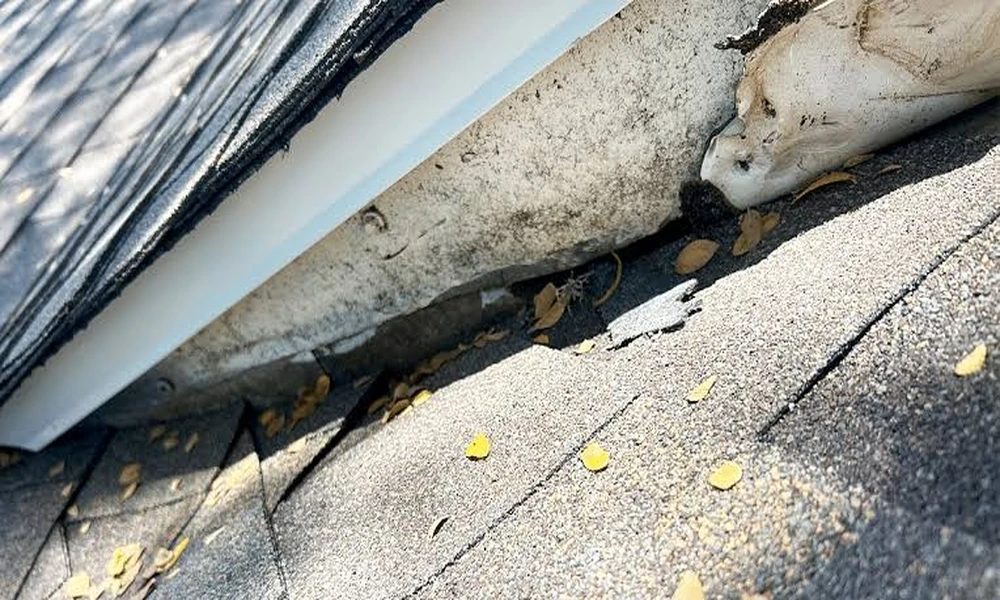
A heavy storm can leave a roof looking fine from the driveway while hiding damage that shows up weeks later as a ceiling stain, a spike in your energy bill, or a musty attic. Gulf Coast homeowners deal with this regularly. Wind lifts shingles, hail bruises the surface, and falling branches can puncture the roof deck. The decisions you make in the first few days afterward often determine how smoothly the repair goes and how much you pay out of pocket.
This guide walks through the practical steps, from safe inspection to paperwork to choosing who does the work.
Start with Safety, Not the Ladder
The most common mistake after a storm is climbing onto a wet or damaged roof. Don’t. Shingles can be slick, the deck may be weakened, and downed power lines are a real hazard. Instead:
- Walk the property and look up from the ground, using binoculars if you have them.
- Check for debris, broken limbs, and anything hanging loose.
- Stay clear of any area near fallen electrical lines and report them to your utility.
- Inside, check ceilings and the attic for drips, dark patches, or daylight showing through.
If you want a trained set of eyes on the roof itself, a local roofing contractor in Stafford or any licensed professional in your area can inspect it safely and explain what they find. A good inspector will show you photos of problem areas rather than simply telling you the roof needs replacing.
What Storm Damage Actually Looks Like
Damage isn’t always dramatic. Learn the subtle signs, because insurers and inspectors look for them too.
Wind damage typically shows as:
- Creased shingles, with a horizontal fold line across the tab
- Missing shingles or exposed underlayment
- Lifted edges that no longer lie flat
- Displaced ridge caps
Hail damage typically shows as:
- Dark, round spots where granules have been knocked off
- Soft, bruised areas that feel spongy
- Dents in metal flashing, vents, and gutters
- Granules collecting at the bottom of downspouts
Debris damage typically shows as:
- Punctures or cracks from impact
- Crushed areas near where a limb landed
- Damaged flashing around chimneys or skylights
Document Everything Before You Touch Anything
Documentation is the foundation of any successful claim. Before cleanup or temporary repairs begin, gather evidence.
- Take wide photos of each side of the house and the roofline.
- Take close-ups of specific damage, with something for scale, like a coin.
- Record video walking around the property and through affected rooms.
- Note the date and time of the storm, along with the weather conditions.
- Save receipts for any emergency measures, such as tarps or boarding.
Keep all of this in one folder, digital or paper. Insurers generally want to see that you acted reasonably to prevent further damage, so temporary protection is expected. Just photograph the roof first.
Understand How Your Policy Treats Roofs
This is where many homeowners are surprised. Not every policy pays out the same way, and roof age often affects the amount. The Texas Department of Insurance explains in its guidance on replacing your roof that using materials less likely to be damaged by wind, hail, or fire may earn you a discount from your insurer, and it covers other questions worth raising before you ever need to file.
Key terms to look for in your policy:
| Term | What It Means |
|---|---|
| Replacement cost value | Pays to replace the roof with comparable new materials, minus your deductible |
| Actual cash value | Pays the roof’s depreciated value, so older roofs may receive less |
| Wind/hail deductible | A separate, often percentage-based deductible that can be larger than your standard one |
| Cosmetic damage exclusion | Some policies exclude dents or marks that don’t affect function |
Read these sections now, not after the next storm. Knowing whether you have a flat deductible or a percentage of your home’s insured value changes whether filing a claim even makes sense for modest damage.
Filing a Claim: A Realistic Timeline
Once you’ve documented the damage and reviewed your coverage, the process generally follows a pattern:
- Contact your insurer promptly. Policies can have deadlines for reporting damage, and some are shorter than others.
- Meet the adjuster. Be present if possible, and point out all the damage you’ve documented.
- Get your own estimate. An independent inspection helps you compare findings against the adjuster’s.
- Review the settlement carefully. Ask questions if the numbers or scope seem incomplete.
- Schedule repairs once you understand what is covered.
The Texas Department of Insurance publishes a post-storm claims checklist that covers documenting damage, filing, and where to call for help if you run into trouble. It’s worth printing and keeping with your policy.
Spotting Red Flags After a Storm
Severe weather brings out both genuine professionals and opportunists. Watch for these warning signs:
- Pressure to sign a contract on the spot
- Door-to-door offers from crews you can’t verify
- Requests for a large payment upfront
- Promises to “cover” or waive your deductible, which Texas law generally prohibits contractors from doing
- No physical business address, license, or proof of insurance
- Vague estimates without itemized materials and labor
Reputable contractors are comfortable with you taking time, checking references, and getting more than one bid.
Questions That Reveal a Quality Contractor
Can I see proof of insurance? Liability and workers’ compensation coverage protect you if something goes wrong on your property.
What is included in the written estimate? It should list materials, brand names, underlayment, flashing, ventilation, and debris removal.
Who handles permits and inspections? Requirements vary by city, and the responsibility should be spelled out.
What warranties apply? Ask separately about manufacturer coverage and workmanship coverage, and get both in writing.
Can you provide local references? Recent jobs in your area tell you more than a polished website.
Temporary Fixes That Buy You Time
If repairs can’t happen immediately, protect the home from further damage:
- Secure a tarp over exposed areas, weighing down edges without nailing through good shingles.
- Cover broken windows or openings.
- Move furniture and valuables away from leaks.
- Place buckets under drips and puncture bulging ceiling drywall carefully to release trapped water, which prevents larger collapses.
Keep every receipt. These costs are often reimbursable under the policy.
Planning Ahead Before the Next Storm
The best time to prepare is when the sky is clear. Schedule a roof inspection once a year and after any major weather event. Trim branches that overhang the roofline, keep gutters clear, and photograph your roof in good condition now so you have a baseline later. Consider impact-resistant shingles or reinforced fastening methods when replacement time comes, since they can improve performance in high winds and may lower premiums.
The Takeaway
Storm damage is stressful, but the process becomes manageable when you work in order: stay safe, document thoroughly, understand your policy, file promptly, and hire carefully. Homeowners who treat these steps as a checklist, not an emergency scramble, tend to get better outcomes with fewer headaches and a roof that holds up through the next season.